.JPG)
Sunday, June 2, 2013

Sunday, May 5, 2013
Figure Mods
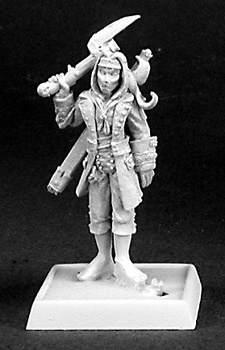
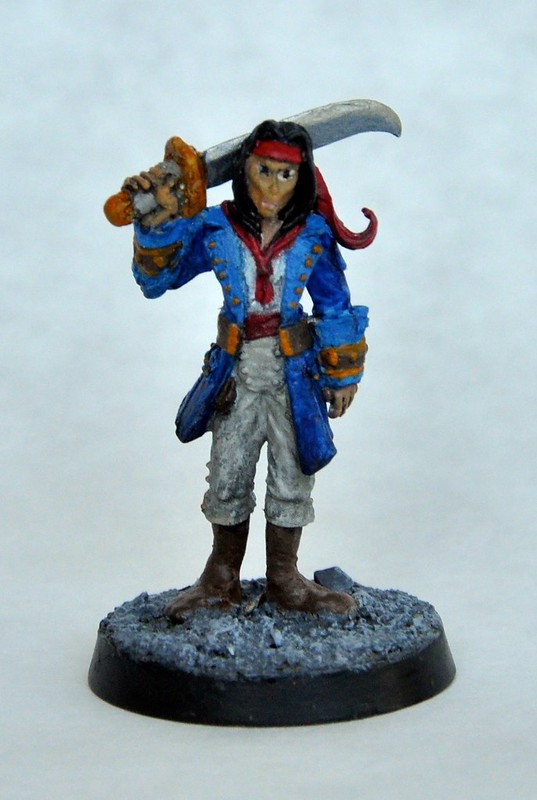 Even though we are using virtual table top software, as a group we still like miniatures so the extent of our use of the software is to project high quality maps with dynamic lighting. We all get by with our painting, and I am willing to put quite a bit of time into the player models. I prefer that the figures pretty closely match the character. For instance in the Carrion Crown adventure path being run by Jerrod I am a cutlass wielding magus that is a member of the Jenevier's crew. So, sailor-like, with cutlass. I found a good Reaper Mini, but he was holding a musket, so I changed that. I snipped off the pistol you can see in the right image, and added the front of a cutlass that I also ordered from Reaper. Sadly we're playing with Cthulhu-esque insanity rules and this character will be insane soon.
 The second modification we needed for Carrion Crown was my wife's cleric. I love playing with people that don't know the rules because their characters are completely story-driven or "this is interesting"-driven. She is a cleric who worships Jazirian, the god of the Couatl, "a long, feathered serpent with a pair of rainbow-feathered wings that allow it to fly." (Wikipedia, 2013).
Because of the rainbow colored wings she found an image of a woman with
rainbow colored hair, and the look of her character was formed.
The second modification we needed for Carrion Crown was my wife's cleric. I love playing with people that don't know the rules because their characters are completely story-driven or "this is interesting"-driven. She is a cleric who worships Jazirian, the god of the Couatl, "a long, feathered serpent with a pair of rainbow-feathered wings that allow it to fly." (Wikipedia, 2013).
Because of the rainbow colored wings she found an image of a woman with
rainbow colored hair, and the look of her character was formed. 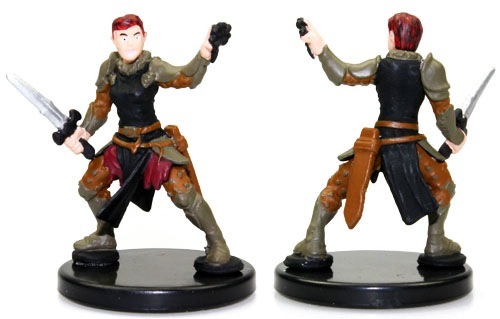
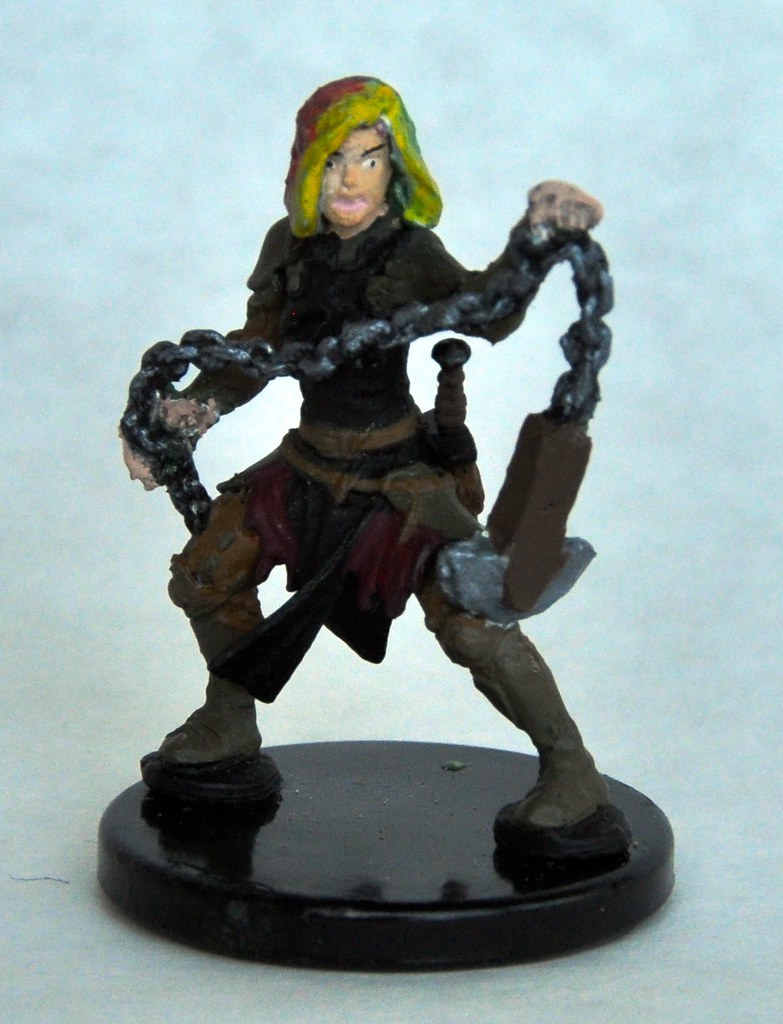 Based on some of my knowledge of Pathfinder, and the usefulness of attacks-of-opportunity as a focus for clerics we decided her character would use a "Flying Blade". An exotic gladiator style weapon consisting of a crescent shaped blade at the end of a 10 foot chain. In our first session we quickly found a figure for her. The WizKid's "Evil Cleric" was close. Short, bright hair with studded leather. Good enough. Finally, after a few weeks of play I modified the WizKids figure. Using Green Stuff I modeled and painted some hair (BIG improvement!). I ordered some chains from Reaper (and am just noticing the great crescent shaped blades). I modeled a blade using Green Stuff, snipped off the Evil Cleric's holy symbol and blade and worked it all together. Last I added a hilt for the sword that should be in the scabbard. (I have some Games Workshop sets and you end up with tons of extra weapons.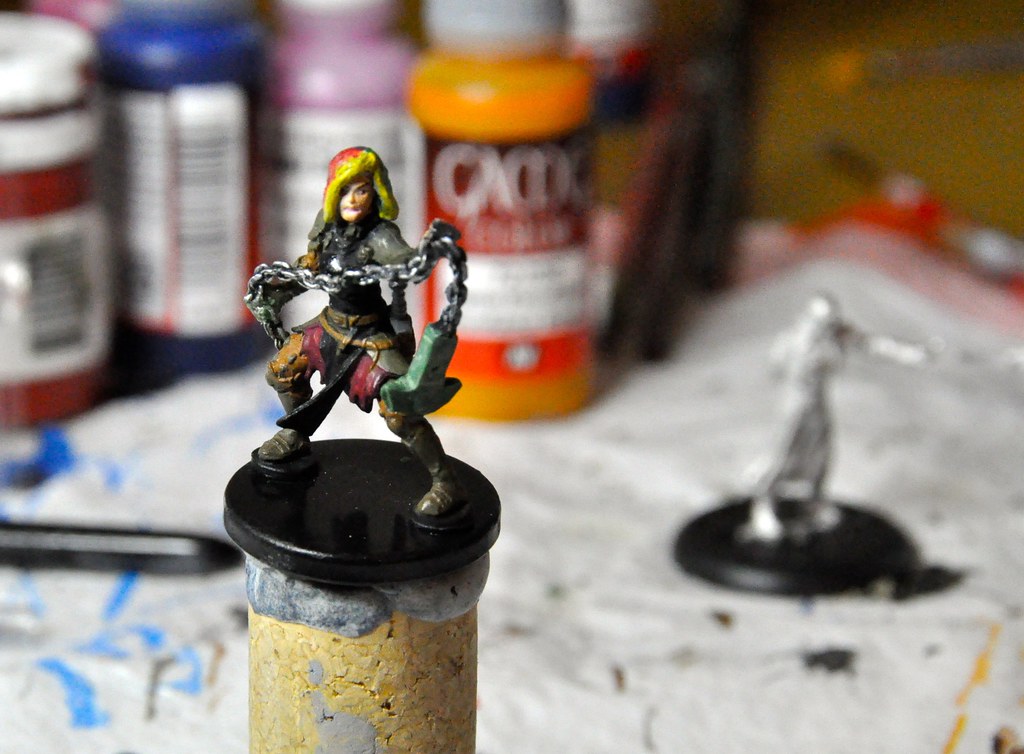
You can do a lot with a little Green Stuff and very little skill. Again though, I have the greatest respect for skilled modelers. I can barely make a simple ... anything. While I will likely never have any skill at modeling I am hoping to one day make my own figure. In a later post I will show some of the figures my kids and I have attempted.
Sunday, April 21, 2013
Future ... I am in you ...
 We are beginning a couple of new campaigns here. My cousin is running a horror based campaign, Carrion Crown, and his daughter is going to run Serpant's Skull, a jungle crawl. A few things came together at the last minute prior to the horror of Carrion Crown starting that allowed us to try digital maps with interactive lighting.
 This allows us to display the professionally rendered maps found in the modules. It's always sad that the game master gets to see the professional maps, but the players just get to see the DM's chicken scratch reproductions. While you can create awesome 3D representations such as in our Everflame game these take an extreme amount of time. While I intend to still make models like from our Everflame game, projecting the provided maps is quick and easy. Paizo even provides PDF interactive maps that allow you to turn off the room labeling as well as activate a "player view" that conceals secret doors and the like.
.JPG) Using the provided maps you can now easily project them, but you need to be able to cover what the players can't see. There are many virtual table top programs that allow this "fog of war" behavior but what I really wanted was "dynamic lighting". Dynamic lighting allows you to place a token on the map as a light source, and then that light source will reveal only the parts of the map that you could see based off of how far you defined the light to shine, and what walls are in the way. With a little bit of work on a map including the adding of walls and doors you've got a whole new layer to the game.
Using the provided maps you can now easily project them, but you need to be able to cover what the players can't see. There are many virtual table top programs that allow this "fog of war" behavior but what I really wanted was "dynamic lighting". Dynamic lighting allows you to place a token on the map as a light source, and then that light source will reveal only the parts of the map that you could see based off of how far you defined the light to shine, and what walls are in the way. With a little bit of work on a map including the adding of walls and doors you've got a whole new layer to the game.A few of the existing virtual table tops have this functionality, but I settled on Roll20 because one, it was the easiest to figure out, and two I had an account already, with full privileges because I contributed to the Kickstarter for TableTop Forge which later merged with Roll20.
Now, we can display high quaility maps and show exactly what our characters can see at any given time. The group can see where shadows are (and thus where maybe you could hide), and instead of wasting time drawing maps that look horrible, we just display them. Like I said, it's a whole new layer to the game. Currently we are projecting from above, but we are also considering embedding a 42" LED in a table, or doing rear projections.
Basically, at this point, it's all gravy.
Sunday, January 13, 2013
The Build - Crypt of the Everflame

I tried to stay as true to the provided map as possible while making alterations necessary for working with the Hirst Arts materials. For instance you can see the pillars in the map are 5' x 5' while the Hirst Arts pillars are smaller, thus placement was different. Also, originally I did not know I was going to make sarcophagus lids so I used insets in the walls at first. All in all I think it ended up being pretty close to the original while utilizing some of the cool things that could be done with Hirst Arts.

Here is a list of some of the materials I used in this build:
- Hirst Arts - Basic Block - Mold #40
- Hirst Arts - Gothic Additional Accessories - Mold #44
- Hirst Arts - Gothic Dungeon Builder - Mold #45
- Hirst Arts - Fieldstone Wall Mold #70
- Hirst Arts - Cracked Floor Tiles - Mold #203
- Hirst Arts tutorial on mold making
- Merlin's Magic Hobby Stone - White (I bought the 50# box)
- Mold Max 30 Silicone (for making my own molds)
- Black and White latex house paint and Hirst Arts Painting Instructions
- Duncan 120105 Aleenes Original in. Tacky in. Glue-2 Ounce (Google Affiliate Ad)
- Crypt of the Everflame Module and Map
Crypt of the Everflame Game Play

Asar at first held the hostage as a shield to prevent ranged attacks. I also gave him a "Push" spell ability to push back immediate threats. Last, I allowed Asar to raise four corpses (the bandits) as minion style zombies. When that happened the collapse feature of my crypt archway was triggered, hampering players in the area.

Tuesday, January 8, 2013
Back to the Inn
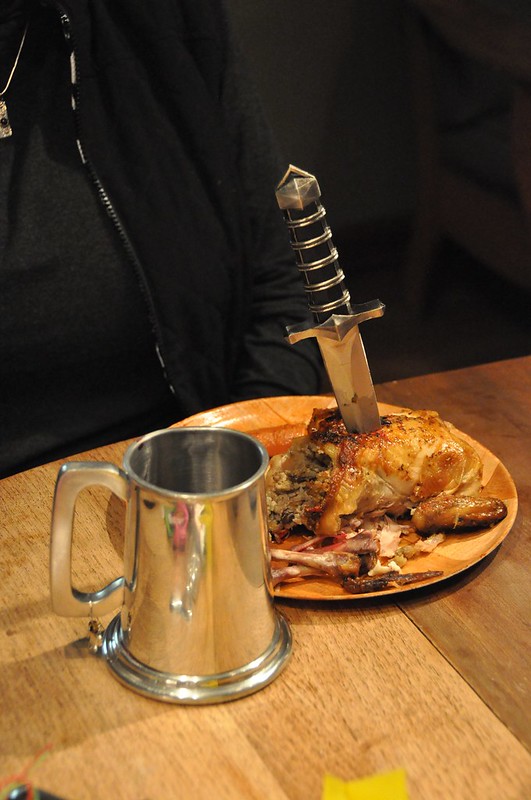
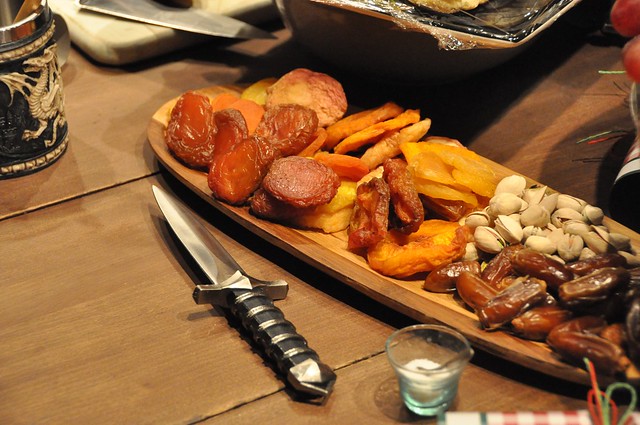 For some reason my wife and I decide that this year our Christmas dinner should be a medieval feast. I think the thought process was, "let's do game hens ... hey, what about buying tankards and daggers and calling it a medieval feast!" We're like that. Given the bounty of good fresh and dried fruits, vegetables, meats, drinks and such it was probably more of a fantasy feast that an adventuring party may order up with some of the haul from the latest dungeon delve.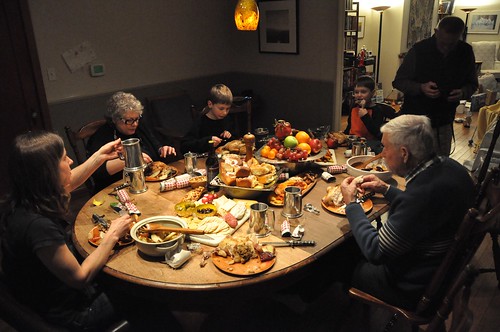
The best part was that we didn't even warn anyone. When it was time to eat we just sat everyone down ... "Here's your dagger ... throw me a sweet roll!" I am looking forward to incorporating this into a gaming session.
Creating a Sarcophagus

- Hirst Arts - Cracked Floor Tiles - Mold #203
- Hirst Arts tutorial on mold making
- Merlin's Magic Hobby Stone - White (I bought the 50# box)
- Mold Max 30 Silicone
- Merchant Guard #12 Desert of Desolation mini
- Black and White latex house paint and Hirst Arts Painting Instructions

Subscribe to:
Posts (Atom)